
Vintage daisy quilt – Tutorial – Quilt Pattern. is a timeless quilting concept that blends nostalgic floral charm with structured, repeatable design techniques. This style of quilt captures the warmth of traditional craftsmanship while offering modern quilters a clear and enjoyable learning path. A vintage daisy quilt – tutorial is especially valued because it combines visual softness with geometric precision, making it appealing for both decorative and functional use.
The popularity of the vintage daisy quilt – tutorial – quilt pattern comes from its ability to evoke memories of classic handmade textiles while remaining adaptable to contemporary interiors. Daisy motifs symbolize simplicity, joy, and renewal, which aligns perfectly with the emotional essence of quilting. When guided by a well-structured tutorial, this quilt pattern becomes accessible even to those who are still developing their skills.
From an educational and SEO-focused perspective, creating content around the vintage daisy quilt – tutorial allows for detailed explanations, keyword-rich structure, and user-focused value. This article is designed to follow Google-recommended SEO practices while remaining fully compliant with Google AdSense policies. It offers clarity, depth, and inspiration for anyone interested in learning or mastering this quilt pattern.
Understanding the Vintage Daisy Quilt Pattern
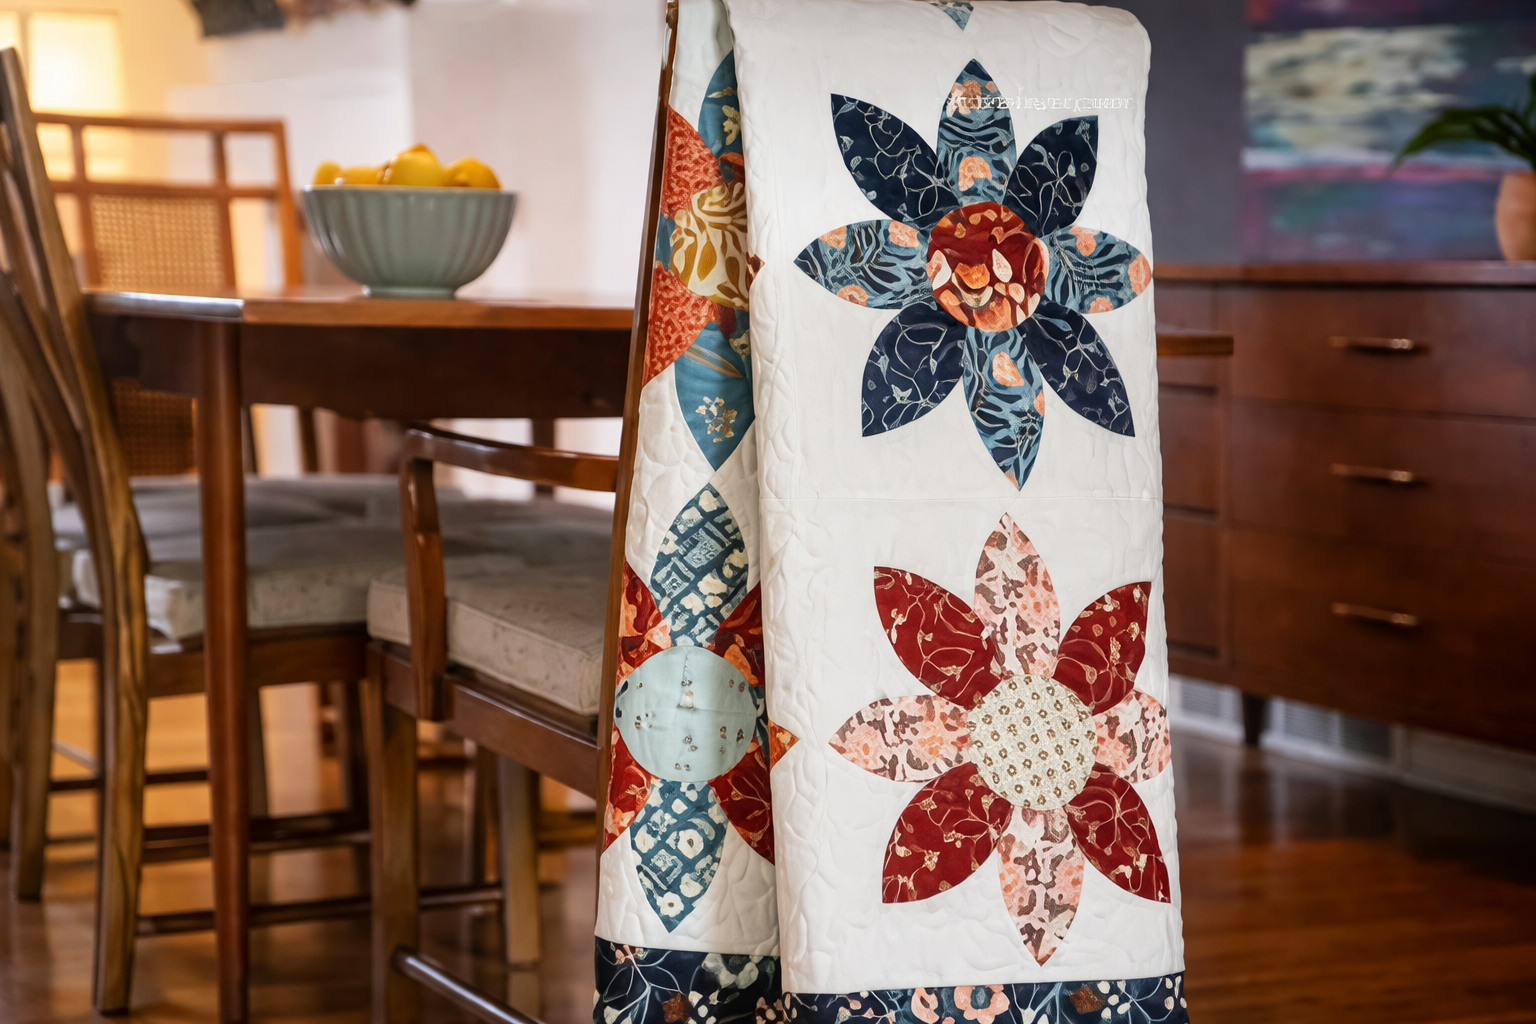
The vintage daisy quilt – tutorial begins with understanding the core design of the quilt pattern. At its heart, this pattern uses repeated daisy blocks arranged in a balanced layout. Each daisy typically features a central circle surrounded by petal shapes, forming a recognizable and harmonious motif.
This quilt pattern is considered vintage due to its roots in traditional patchwork designs. Many classic quilts used floral patterns as a way to bring nature indoors, especially during colder seasons. The daisy, in particular, was favored for its simplicity and symmetrical form.
One important aspect of the vintage daisy quilt is color choice. Soft pastels, muted yellows, warm creams, and gentle greens are commonly used to reinforce the vintage aesthetic. However, the tutorial allows flexibility, enabling quilters to adapt colors while maintaining the pattern’s identity.
The block structure is another defining element. Most daisy quilt patterns rely on consistent block sizes, which simplifies assembly and ensures alignment. This makes the tutorial especially useful for maintaining accuracy throughout the project.
Spacing between daisy blocks also contributes to the overall look. Sashing or background fabric can highlight each flower, creating visual breathing room and enhancing the quilt’s elegance.
By fully understanding the structure and intention behind the vintage daisy quilt – tutorial – quilt pattern, quilters can approach the project with confidence and creative clarity.
Materials and Preparation for the Quilt Tutorial
Preparation is essential when following a vintage daisy quilt – tutorial. Fabric selection plays a central role in achieving the desired vintage look. High-quality cotton fabrics are commonly recommended due to their durability and ease of handling.
Pre-washing fabrics is a critical step in any quilt pattern project. This prevents unexpected shrinking and color bleeding, ensuring the finished quilt maintains its shape and color balance over time.
Batting choice affects both comfort and appearance. For a vintage daisy quilt, medium-loft batting is often preferred, as it provides softness without overpowering the delicate floral design.
Cutting tools such as rotary cutters, rulers, and cutting mats improve precision. Accurate cutting ensures that daisy blocks align properly, which is essential for a clean and professional finish.
Thread selection should complement the fabric colors. Neutral or slightly contrasting threads help emphasize stitching while maintaining harmony within the vintage daisy quilt.
Finally, organizing materials before starting the tutorial saves time and reduces errors. Labeling fabric pieces and arranging them according to the pattern layout supports a smooth and enjoyable quilting process.
Step-by-Step Construction Process
The construction phase of the vintage daisy quilt – tutorial starts with assembling individual daisy blocks. Each block is typically built from smaller fabric pieces that form petals and centers, requiring careful stitching and pressing.
Pressing seams at each stage is essential. This step ensures flat blocks and prevents bulk, which is especially important when working with detailed floral shapes in a quilt pattern.
Once individual daisy blocks are complete, they are arranged into rows. This layout phase allows quilters to assess color balance and make adjustments before final assembly.
Joining rows together requires precision to maintain alignment. Pinning intersections helps keep seams matched, resulting in a polished appearance across the quilt top.
After the quilt top is finished, it is layered with batting and backing fabric. This “quilt sandwich” forms the foundation for the quilting stitches that secure all layers together.
Quilting designs can be simple or decorative. Straight-line quilting maintains a traditional feel, while gentle curves can echo the daisy shapes, enhancing the vintage daisy quilt – tutorial – quilt pattern.
Finishing, Care, and Longevity of the Quilt
Finishing touches are what truly complete a vintage daisy quilt – tutorial project. Binding the edges protects the quilt from fraying and frames the design beautifully.
Binding fabric is often chosen to complement the daisy colors or background fabric. A well-applied binding adds durability and a professional finish to the quilt pattern.
Labeling the quilt is a meaningful step. Including the maker’s name and date preserves the quilt’s story, reinforcing its vintage-inspired character.
Proper care ensures the quilt remains beautiful for years. Gentle washing and air drying are recommended to protect both fabrics and stitching.
Storage also matters. Folding the quilt differently each time or storing it flat helps prevent permanent creases and fabric stress.
With thoughtful finishing and care, a vintage daisy quilt – tutorial – quilt pattern creation can become a cherished heirloom passed down through generations.
FAQ
What skill level is required for a vintage daisy quilt tutorial?
This tutorial is suitable for confident beginners and intermediate quilters who are familiar with basic piecing techniques.
How long does it take to complete a vintage daisy quilt?
Completion time varies, but most quilts can be finished over several weeks with consistent progress.
Can I change the colors in a vintage daisy quilt pattern?
Yes, color customization is encouraged as long as contrast and balance are maintained.
What size is typically used for a vintage daisy quilt?
Sizes vary, but the pattern can be adapted for baby quilts, throws, or full-size bed quilts.
Is hand quilting suitable for this pattern?
Yes, hand quilting enhances the vintage feel and works beautifully with daisy motifs.
How do I keep my daisy blocks aligned?
Careful cutting, consistent seam allowances, and pressing at each step are key to alignment.
Conclusion
This article explored the Vintage daisy quilt – Tutorial – Quilt Pattern. in depth, from understanding the design and preparing materials to construction, finishing, and long-term care. The tutorial approach makes this quilt pattern accessible while preserving its timeless charm and traditional appeal.
By following these guidelines, quilters can create a beautiful, meaningful piece that reflects both skill and creativity. We invite you to leave an honest opinion about this article and share your suggestions or personal experiences, as your feedback is always valuable and appreciated.