
Crocheted Santa Claus – Crochet Pattern is a timeless holiday project that brings warmth, nostalgia, and creativity into any home. Whether you are an experienced crafter or a beginner looking for a festive challenge, creating a bold and delightful Crocheted Santa Claus can be a rewarding experience. This article explores everything you need to know about designing and completing your own Crocheted Santa Claus – Crochet Pattern, using clear explanations, SEO-optimized structure, and humanized language to help you achieve the best results. Throughout the text, you will see important keywords in bold to support both readability and search optimization.
Crafting a handmade Santa figure allows you to connect with tradition while developing your crochet skills. The Crocheted Santa Claus – Crochet Pattern can be adapted in many ways, including size variation, color adjustments, and personalized accessories. Because of its versatility, this project appeals to hobbyists and skilled artisans alike. As you immerse yourself in this article, you will discover tips and insights that make the creation process easier, more enjoyable, and beautifully detailed.
Before diving into the practical sections, it is important to understand the value of this craft. A Crocheted Santa Claus can become a beloved collectible, a gift, or a seasonal decoration that lasts year after year. With proper guidance and a well-structured crochet pattern, even beginners can produce charming results. In the next sections, we explore materials, techniques, styling ideas, and best practices to ensure your Santa stands out as a festive masterpiece.
Understanding the Crocheted Santa Claus Concept
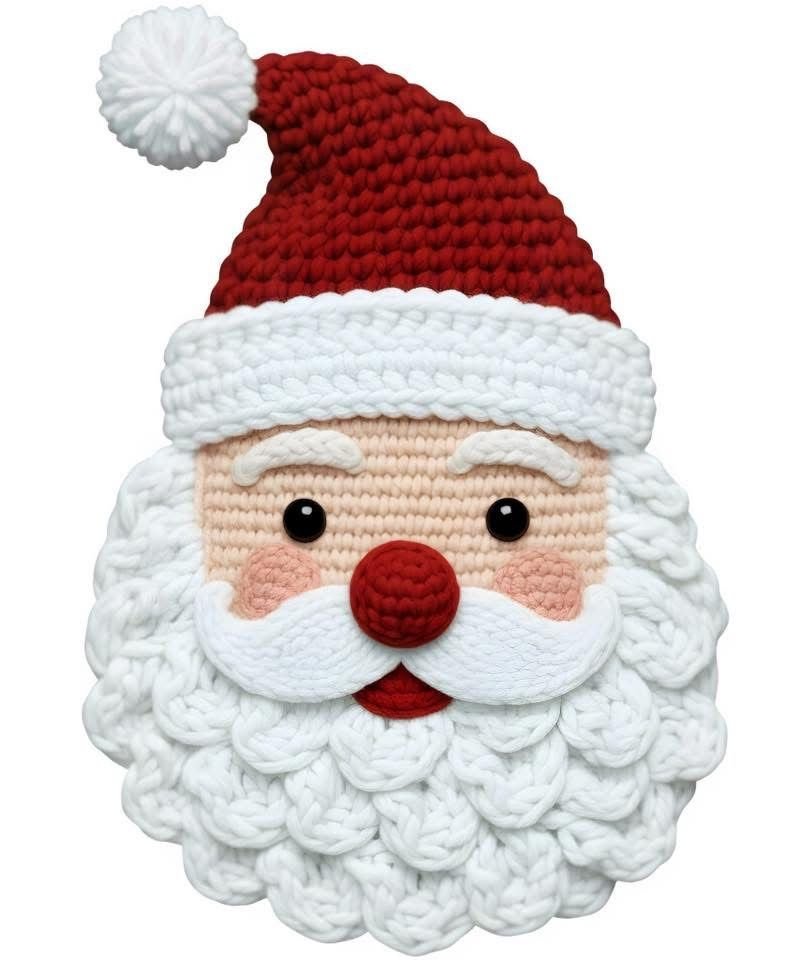
Creating a Crocheted Santa Claus – Crochet Pattern begins with having a clear vision of the final figure. Every Santa design consists of essential features: the iconic red suit, fluffy white beard, black boots, and soft textures that evoke warmth and joy. In the world of crochet, these details are built stitch by stitch, allowing for customization while preserving the classic image of Santa Claus. Your chosen pattern will determine proportions, shapes, and the level of detail involved.
When planning your project, think about the style you want to achieve. Some crafters prefer a realistic, detailed Santa, while others enjoy more simplified, cute, or cartoon-like characters. The beauty of a Crocheted Santa Claus lies in the flexibility to express personality and artistic taste. You can adjust colors, add accessories, and modify facial features to create a one-of-a-kind figure.
The foundation of the pattern typically begins with amigurumi techniques, which use tight stitches to create firm, three-dimensional shapes. Understanding the basics of amigurumi will make working with your Crochet Pattern smoother and more intuitive. Even if you are new to the method, practicing on small sample pieces can rapidly build your confidence and accuracy.
Selecting the right materials is equally important. High-quality cotton or acrylic yarn offers durability and a neat finish, ensuring your Crocheted Santa retains its shape over time. Fiberfill stuffing helps form the body, while safety eyes or embroidered features bring your Santa to life. With solid preparation, your crafting experience becomes both enjoyable and stress-free.
Finally, planning ahead guarantees a successful project. Preparing all your materials, reading through the full Crocheted Santa Claus – Crochet Pattern, and taking notes on specific details will help you maintain consistency. Once these steps are complete, you are ready to begin the creative journey of crocheting your very own holiday icon.
Essential Materials and Tools for the Crocheted Santa Claus
The first step toward a well-executed Crocheted Santa Claus – Crochet Pattern is gathering the proper tools and supplies. Most patterns call for a medium-weight yarn in red, white, black, and skin-tone colors. Choosing durable yarn ensures your Santa figure remains vibrant even after years of holiday use. Cotton yarn offers a smooth, clean finish, while acrylic provides a softer, more flexible texture.
A suitable hook size is crucial for achieving tight stitches, especially for amigurumi-style projects. Typically, a smaller hook than recommended for your yarn weight creates firm fabric that keeps stuffing from showing. Having a set of hooks on hand allows you to adjust easily if needed, particularly if your tension differs from the pattern’s gauge.
Stuffing material is another key component. Polyester fiberfill is widely used because it is lightweight, washable, and easy to shape. Use small amounts at a time to avoid lumps, gently forming the figure as you fill each section. A well-stuffed Santa will stand or sit nicely and maintain its structure.
Stitch markers help keep track of rounds—an essential tool when working with continuous spirals. They prevent miscounting and ensure every part of your Crocheted Santa Claus is symmetrical. A small pair of scissors and a yarn needle for sewing pieces together complete your basic toolkit.
Additional decorative elements enhance the final look of your Santa. Buttons, embroidery threads, safety eyes, and even small bells can be added if your pattern allows. These details bring personality and charm, transforming a simple crochet project into a festive masterpiece.
Before beginning, organize all your materials in one place. Having everything ready boosts efficiency and reduces interruptions, allowing you to immerse yourself fully in your crafting journey.
Key Techniques Used in the Crocheted Santa Claus Pattern
Mastering a few essential techniques ensures your Crocheted Santa Claus – Crochet Pattern turns out beautifully. The magic ring, or adjustable ring, is often the first step in forming rounded shapes for the head, body, and limbs. It provides a tight center that prevents gaps, which is especially important for stuffed figures.
Single crochet stitches form the foundation of amigurumi projects. Working in continuous rounds instead of joined rounds creates a smooth appearance without visible seams. Keeping even tension is crucial; practicing beforehand helps achieve consistency throughout the piece.
Increasing and decreasing stitches allow the figure to shape naturally. Increases widen the form, while decreases gently taper it. Invisible decreases are preferred in amigurumi because they reduce gaps and create a cleaner finish, especially on the face and body.
Color changes are another important skill. Santa’s red suit, white trim, and black boots require seamless transitions between yarns. Changing colors at the back of the piece minimizes visible shifts. Weaving in ends securely ensures durability and a tidy appearance.
Sewing the pieces together is the final major step. Aligning limbs, hat, beard, and facial features requires patience and precision. Pinning pieces in place before stitching ensures better symmetry. This assembly stage truly brings your Crocheted Santa Claus to life.
If you’re new to these techniques, practicing them individually before starting the full pattern will make the project more enjoyable. Confidence in your foundational skills translates directly into a polished, expressive Santa figure.
Creative Styling Ideas for Your Crocheted Santa Claus
One of the joys of working with a Crocheted Santa Claus – Crochet Pattern is the ability to personalize your creation. You can remain faithful to the classic red-and-white design or explore alternative color schemes for a unique twist. Burgundy, deep green, or even snowy-white Santas have become popular in modern holiday décor.
Facial features can be subtle or expressive. Embroidered eyes give a soft, traditional look, while safety eyes provide a brighter, more playful expression. Adding blush with a small amount of pink yarn or fabric paint creates a cheerful, warm appearance associated with holiday cheer.
Your Santa’s beard can also vary in texture and volume. Some crafters prefer a simple crocheted beard, while others layer loops, fringes, or fuzzy yarn to add fullness. This detail makes a significant difference in the overall character of your figure.
Accessories are another way to personalize the Crocheted Santa Claus. Small gifts, sacks, candy canes, or a tiny crocheted sleigh can accompany your Santa. These mini props add storytelling elements to the scene, making your display more engaging and festive.
Consider creating a set of Santas in different sizes. Miniature versions can be ornaments, keychains, or stocking fillers. Larger models become charming centerpieces or mantel decorations. Using the same Crochet Pattern with different hook sizes and yarn weights provides endless creative possibilities.
Finally, think about where your Santa will be displayed. This can influence your design choices, helping you tailor the overall look to match your home décor or holiday theme. With creativity and imagination, every Santa you craft becomes a personal expression of seasonal joy.
FAQ – Common Questions About Crocheted Santa Claus Patterns
1. Is the Crocheted Santa Claus pattern suitable for beginners?
Yes. Many patterns are beginner-friendly, especially those using basic stitches like single crochet. Starting with simple designs helps build confidence before attempting more detailed versions.
2. How long does it take to complete a Crocheted Santa Claus?
The time varies depending on skill level and pattern complexity. Most crafters finish a medium-sized Santa in a few days to a week with consistent work.
3. What type of yarn works best for a Crocheted Santa Claus?
Medium-weight acrylic or cotton yarn is ideal due to its durability and clean stitch definition. Both materials hold shape well and provide a polished finish.
4. Can I sell Santas made from a crochet pattern?
Generally yes, as long as the pattern creator allows it. Most designers permit selling finished items but not reproducing or distributing the pattern itself.
5. How do I keep my Crocheted Santa clean?
Spot cleaning with mild soap and water works best. Avoid machine washing unless the yarn label specifies that it’s safe, and never soak pieces with glued elements.
6. Can I adjust the size of the Santa without changing the pattern?
Absolutely. Using thicker yarn and a larger hook makes a bigger Santa, while thin yarn and a small hook create a miniature version without altering the stitch counts.
Conclusion
Crafting a Crocheted Santa Claus – Crochet Pattern is a joyful and meaningful way to celebrate the holiday season while expressing your creativity. From selecting materials to customizing facial features and accessories, every step offers opportunities to make your Santa unique and memorable. With the guidance provided in this article, you now have a foundation to start your project confidently and enjoyably.
If you found this guide helpful, please leave your sincere opinion and share suggestions for future topics. Your feedback helps improve and inspire new content for passionate crafters like you.