
Crochet Rose Tutorial – Pattern is the perfect starting point for anyone who wants to create delicate, timeless floral embellishments using yarn and a hook. Whether you are a beginner exploring your first stitches or an experienced crocheter looking to refine your technique, learning how to craft a crochet rose can open the door to countless creative possibilities. This comprehensive guide will walk you through every essential detail while keeping the process enjoyable and easy to follow.
Creating a crochet rose pattern is not only a relaxing and rewarding craft project, but it is also a wonderful way to personalize accessories, home décor, and handmade gifts. Roses made with crochet techniques can be attached to hats, bags, blankets, scarves, or even turned into brooches and decorative appliqués. The versatility of this pattern makes it a must-have skill for anyone passionate about crochet.
In this detailed Crochet Rose Tutorial – Pattern, we will break down each step, explain key crochet terms, and provide expert tips to ensure your rose turns out beautifully every time. By the end of this article, you will have a strong understanding of the structure behind a crochet rose and the confidence to adapt the pattern to your own creative style.
Understanding the Basics of the Crochet Rose Tutorial – Pattern
The foundation of any successful Crochet Rose Tutorial – Pattern begins with understanding the basic crochet stitches involved. Most crochet rose designs rely on simple stitches such as chain (ch), single crochet (sc), and double crochet (dc). These fundamental stitches form the petals and give the rose its characteristic layered appearance.
When working on a crochet rose pattern, tension plays a significant role. Maintaining even tension ensures that the petals curl naturally and the flower maintains its shape. If your stitches are too tight, the rose may look stiff. If they are too loose, the structure might not hold well. Practicing consistent tension is key to achieving professional-looking results.
Yarn selection is another important factor in your Crochet Rose Tutorial – Pattern. Cotton yarn is often recommended for its structure and durability, while acrylic yarn offers softness and a wide variety of colors. Choosing the right yarn weight will directly influence the final size and texture of your rose.
Hook size also affects the outcome of your crochet rose. A smaller hook creates tighter stitches and a firmer flower, while a larger hook produces a softer and more flexible rose. Always check your yarn label for recommended hook sizes, but feel free to experiment to achieve your desired look.
Understanding how the rose is constructed will make the process easier. Most crochet rose patterns are worked in a long strip that is later rolled and sewn into shape. This method allows the petals to overlap naturally, mimicking the appearance of a real rose.
Finally, familiarizing yourself with common crochet abbreviations will help you follow the pattern smoothly. Terms like ch, sc, dc, sl st (slip stitch), and st (stitch) frequently appear in any well-written Crochet Rose Tutorial – Pattern, so knowing them will streamline your crafting experience.
Step-by-Step Guide to Creating a Beautiful Crochet Rose
To begin your Crochet Rose Tutorial – Pattern, start by creating a foundation chain. The length of this chain determines the fullness of your rose. A longer chain produces a larger and more layered flower, while a shorter chain creates a smaller, delicate bloom.
In the first row, you will typically work a series of double crochets into each chain stitch. This row establishes the base that will later form the petals. Consistency in stitch height is essential to keep the rose symmetrical and balanced.
The second row usually focuses on forming petal shapes. This may involve working multiple double crochets into a single stitch to create a shell-like structure. These shells will curl naturally as you continue the pattern, giving your crochet rose its realistic appearance.
As you progress through the crochet rose pattern, you will notice the fabric beginning to ruffle. This is a positive sign and indicates that the petals are forming correctly. Do not try to flatten the piece; the ruffles are what create dimension and depth.
Once the rows are complete, the magic happens during assembly. Carefully roll the crocheted strip from one end to the other, adjusting the petals as you go. This rolling technique is a defining feature of the Crochet Rose Tutorial – Pattern, transforming a simple strip into a beautiful three-dimensional flower.
Secure the base of the rose with a yarn needle and matching thread. Stitch through the layers to ensure the rose holds its shape. Take your time with this step, as proper assembly determines the final appearance and durability of your crochet rose.
Customizing Your Crochet Rose Pattern for Unique Designs
One of the most exciting aspects of mastering a Crochet Rose Tutorial – Pattern is the ability to customize your creations. By adjusting the number of chains in the foundation row, you can easily control the size of your rose.
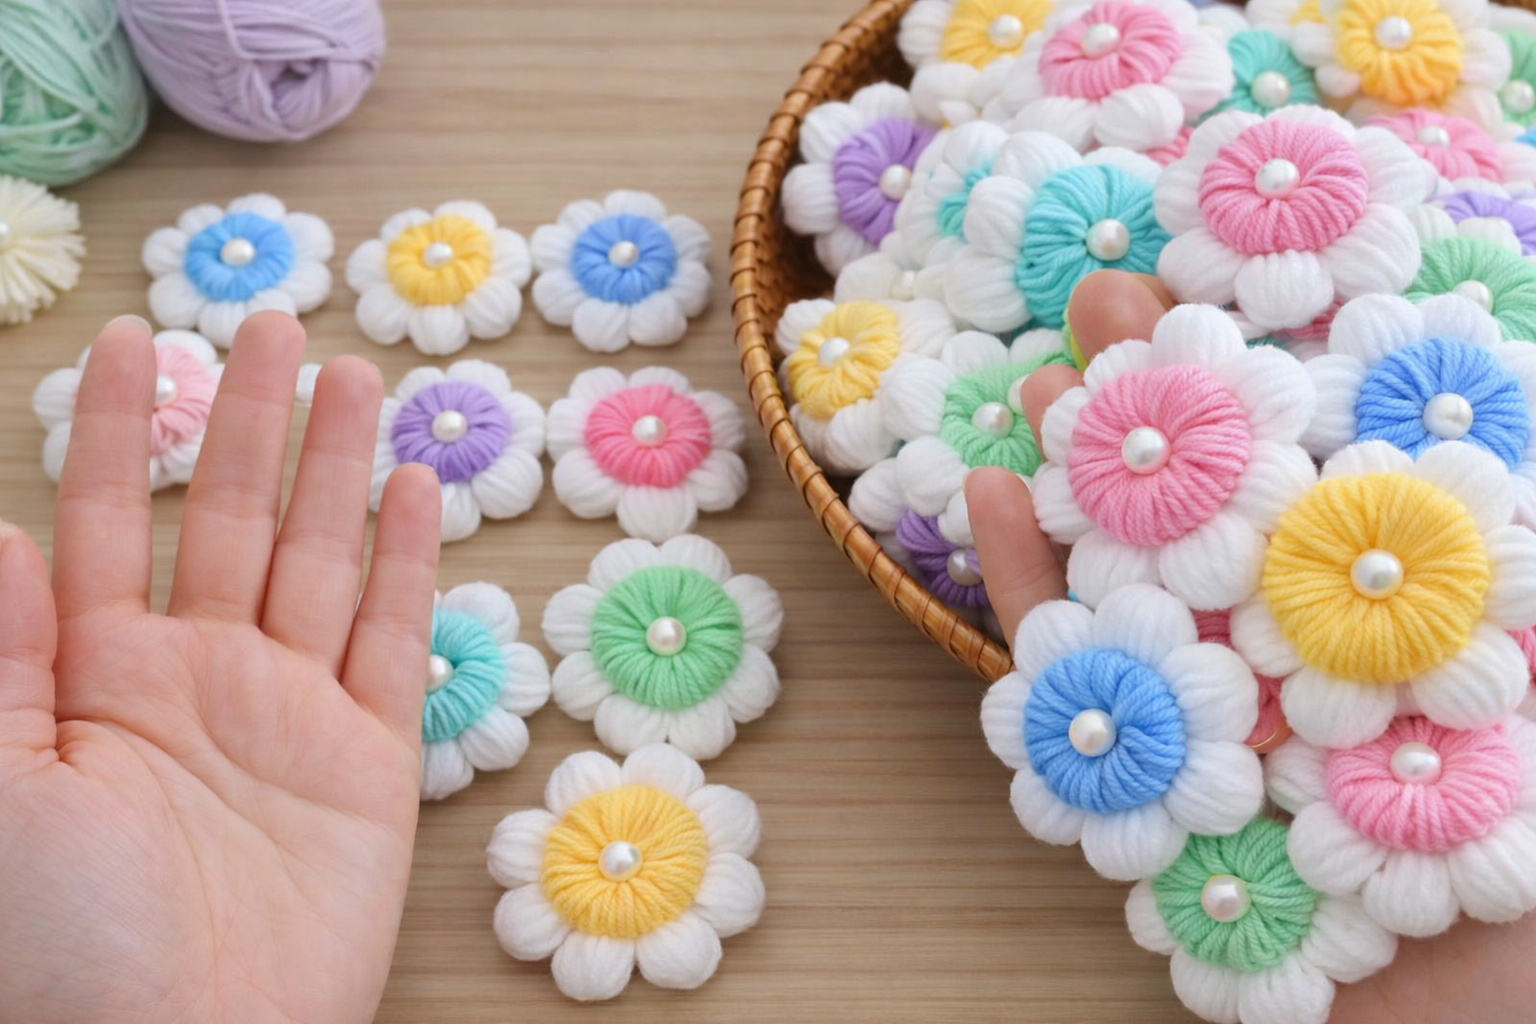
Color selection plays a huge role in personalization. While classic red and pink roses are always beautiful, experimenting with white, yellow, purple, or even multicolored yarn can give your crochet rose a modern and creative twist. Variegated yarn can add natural-looking gradients to the petals.
You can also vary the stitch combinations within your crochet rose pattern. Mixing single crochets with half double crochets and double crochets creates layered petal effects. This technique adds texture and realism to the finished flower.
Adding leaves enhances the overall presentation of your crochet rose. Simple green leaf appliqués can be crocheted separately and sewn onto the base. This addition makes the flower look more complete and visually appealing.
Embellishments such as small beads or pearls in the center of the rose can elevate your design. However, if the crochet rose is intended for children’s items, always ensure embellishments are securely attached to maintain safety.
Finally, consider incorporating your crochet roses into larger projects. They can be sewn onto blankets, headbands, handbags, cushions, or even framed as decorative art. The flexibility of the Crochet Rose Tutorial – Pattern allows endless creative applications.
Tips for Perfecting Your Crochet Rose Tutorial – Pattern
Patience is essential when learning a new Crochet Rose Tutorial – Pattern. Take your time with each row and carefully read through the instructions before starting. Rushing may lead to uneven petals or assembly challenges.
Blocking your crochet strip lightly before rolling it can help shape the petals. Use a gentle steam method or lightly dampen the piece and allow it to dry flat. This technique can improve the overall symmetry of your crochet rose.
If your rose appears too tight when rolled, try loosening your tension or increasing the hook size slightly. Small adjustments can significantly improve the final outcome of your crochet rose pattern.
Practice makes progress. Creating multiple roses will help you refine your technique and develop a natural rhythm. Over time, you will notice improvements in consistency, petal definition, and assembly skills.
Keeping your stitches even and counting carefully will prevent mistakes. Missing or adding stitches unintentionally can alter the petal formation and affect the balance of the rose.
Lastly, enjoy the creative journey. The beauty of a Crochet Rose Tutorial – Pattern lies not only in the finished product but also in the calming, mindful process of crafting something handmade with care and creativity.
FAQ – Crochet Rose Tutorial – Pattern
What is the best yarn for a crochet rose pattern?
Cotton yarn is highly recommended because it provides structure and durability. However, acrylic yarn is also suitable if you prefer a softer texture and wider color selection.
Is the Crochet Rose Tutorial – Pattern suitable for beginners?
Yes, most crochet rose patterns use basic stitches like chain, single crochet, and double crochet. Beginners who understand these stitches can successfully complete the project.
How long does it take to make a crochet rose?
Depending on your experience level, a crochet rose can take anywhere from 20 minutes to one hour. With practice, the process becomes faster and more intuitive.
Can I wash items with crochet roses attached?
Yes, but it is best to follow the washing instructions for your yarn type. Hand washing and air drying are often recommended to maintain the flower’s shape.
How do I make a larger crochet rose?
Increase the length of your foundation chain and add more petal rows. Using thicker yarn and a larger hook will also result in a bigger flower.
Why does my crochet rose not curl properly?
This may be due to tight tension or insufficient increases in the petal row. Ensure you are placing multiple stitches into the same stitch to create the necessary ruffle effect.
Conclusion
In this complete Crochet Rose Tutorial – Pattern, we explored the essential stitches, construction methods, customization options, and practical tips needed to create stunning crochet roses. From understanding the basics to mastering assembly and personalization, each step plays a crucial role in achieving a beautiful and professional result. The versatility of the crochet rose pattern makes it an invaluable addition to any crochet enthusiast’s skill set.
Now that you have learned how to create and customize your own crochet roses, it is time to put your knowledge into practice. Experiment with colors, sizes, and textures to make each flower uniquely yours. If you found this guide helpful, please share your honest opinion and leave your suggestions. Your feedback is always welcome and helps inspire even more creative crochet content in the future.