
The patchwork bag tutorial – quilt pattern is one of the most rewarding and creative sewing projects for beginners and experienced crafters alike. Combining vibrant fabric scraps into a cohesive design, this technique transforms simple materials into something both practical and visually stunning. Whether you’re looking to create a unique handmade accessory or explore the art of quilting on a smaller scale, this guide will walk you through everything you need to know.
A well-crafted patchwork bag tutorial – quilt pattern allows you to express your personality through color, texture, and design. Unlike mass-produced bags, a patchwork piece carries a story in every stitch. It’s not just about sewing—it’s about designing something meaningful, sustainable, and completely original. Using leftover fabrics also makes this project eco-friendly, which adds even more value to your work.
In this comprehensive guide, you’ll learn how to approach a patchwork bag tutorial – quilt pattern step by step, understand essential materials, and master techniques that ensure a professional-looking finish. With clear explanations and practical tips, this article is designed to help you confidently create your own quilted bag while improving your sewing skills.
Understanding the Basics of a Patchwork Bag Tutorial – Quilt Pattern
Before starting your project, it’s important to understand what a patchwork bag tutorial – quilt pattern really involves. Patchwork refers to sewing together small pieces of fabric to form a larger design, while quilting adds layers and texture through stitching. When combined, these techniques create durable and beautiful bags.
DISCOVER MORE FREE PATTERNS HERE!
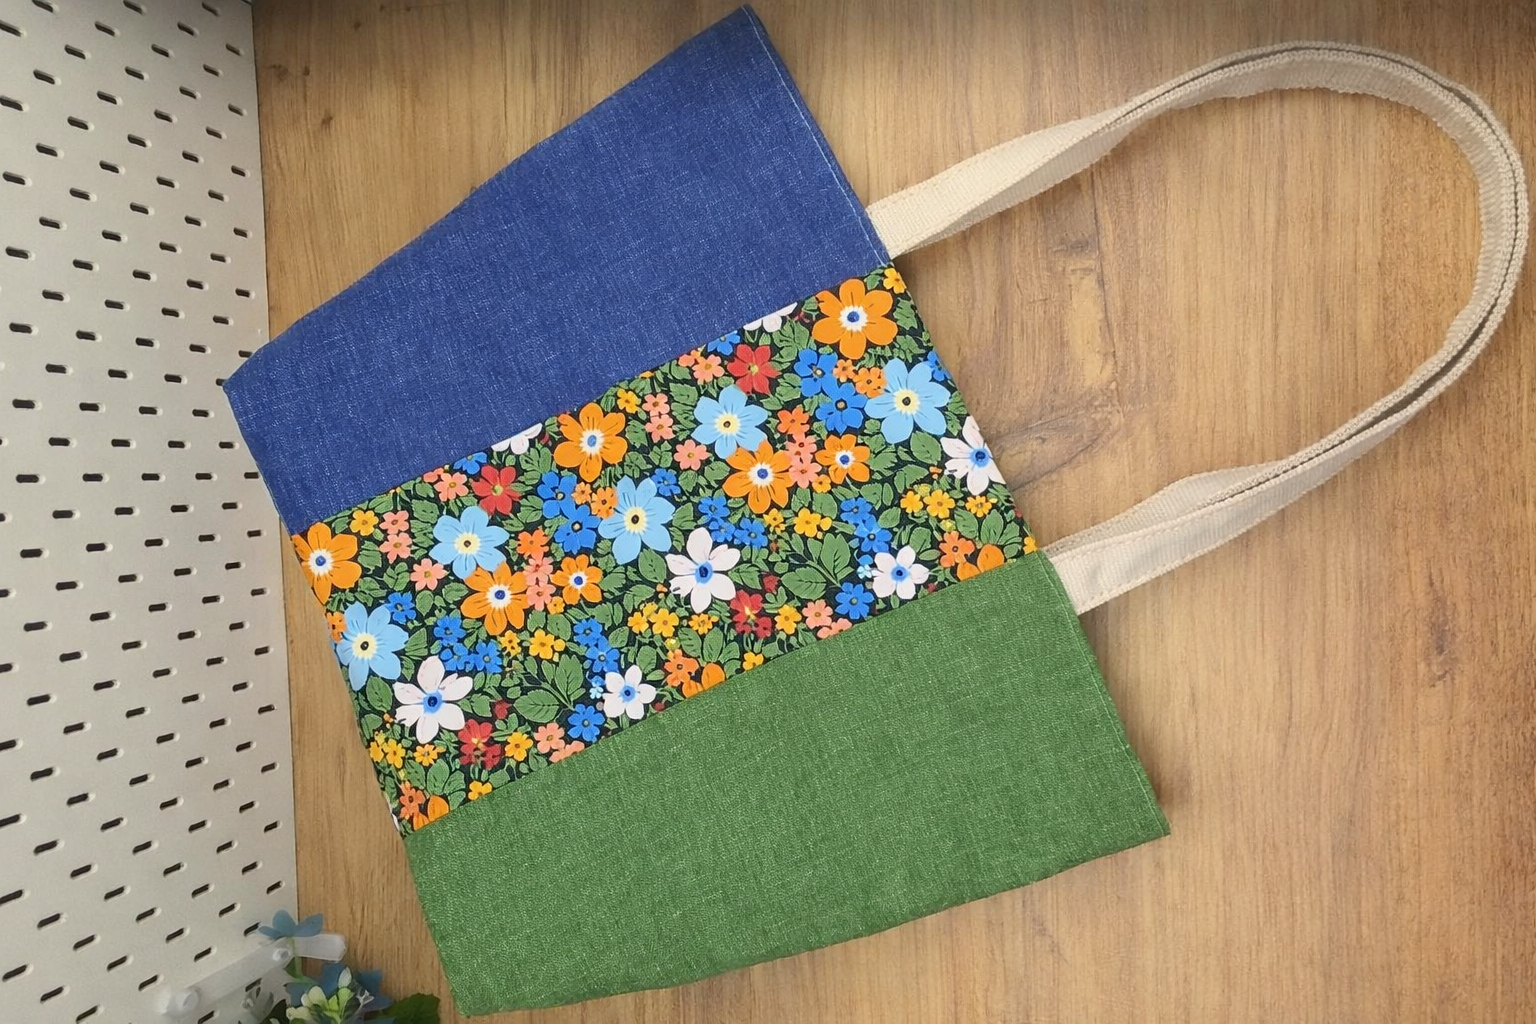
A good patchwork bag tutorial – quilt pattern begins with selecting the right fabrics. Cotton fabrics are highly recommended because they are easy to work with and hold their shape well. Mixing colors and prints thoughtfully will help you achieve a balanced and appealing design.
Choosing a pattern is another key step. Beginners should start with simple geometric designs like squares or rectangles. These are easier to align and sew, making the learning process smoother and more enjoyable.
Cutting your fabric accurately is essential. Even small inconsistencies can affect the final look of your bag. Use a rotary cutter and ruler if possible, as they provide more precision than scissors.
Once your pieces are cut, arranging them before sewing helps visualize the final layout. This step allows you to experiment with color placement and make adjustments before committing to stitches.
Finally, understanding seam allowance is crucial in any patchwork bag tutorial – quilt pattern. Consistent seam allowances ensure that all pieces fit together correctly, resulting in a clean and professional finish.
Essential Materials and Tools for Patchwork Bag Creation
Having the right materials makes a significant difference in the success of your patchwork bag tutorial – quilt pattern. While the project can be done with basic tools, investing in quality supplies improves both the process and the final result.
Fabric is the most important material. Choose high-quality cotton fabrics in complementary colors and patterns. You’ll also need lining fabric, which gives the bag structure and a neat interior finish.
Batting is another essential component. It adds thickness and softness to your bag, making it more durable and comfortable to use. There are different types of batting available, but cotton or polyester blends are ideal for beginners.
Thread selection is often overlooked but very important. Use strong, high-quality thread that matches or complements your fabric colors. This ensures durability and enhances the overall appearance.
Basic tools include a sewing machine, scissors or rotary cutter, pins, and a ruler. A sewing machine speeds up the process and provides more consistent stitching compared to hand sewing.
You may also want to use an iron during your patchwork bag tutorial – quilt pattern. Pressing seams as you go helps keep your work neat and makes assembly easier.
Lastly, don’t forget optional accessories like handles, zippers, or buttons. These elements not only add functionality but also give your bag a personalized touch.
Step-by-Step Guide to Sewing Your Patchwork Bag
Creating a bag using a patchwork bag tutorial – quilt pattern becomes much easier when broken down into clear steps. Following a structured approach ensures better results and reduces frustration.
Start by cutting all your fabric pieces according to your chosen pattern. Accuracy at this stage is key to achieving a polished final product. Double-check measurements before cutting.
Next, sew the fabric pieces together row by row. Align edges carefully and pin them in place to prevent shifting. Take your time to maintain straight seams.
After assembling the patchwork panel, press all seams flat with an iron. This step improves the overall appearance and makes the next stages easier to handle.
Layer your patchwork top with batting and lining fabric. This creates the quilt sandwich. Secure the layers using pins or basting stitches to keep everything in place.
Quilting is the next step in your patchwork bag tutorial – quilt pattern. Stitch through all layers using simple straight lines or decorative patterns. This adds texture and strengthens the structure.
Finally, assemble the bag by sewing the sides and attaching handles or closures. Turn the bag inside out, and your handmade patchwork bag is ready to use.
Tips for Improving Your Patchwork and Quilting Skills
Mastering a patchwork bag tutorial – quilt pattern takes practice, but a few key tips can help you improve quickly and achieve better results.
Start with simple designs and gradually move to more complex patterns. This builds confidence and helps you develop essential skills step by step.
Consistency is crucial in quilting. Always maintain the same seam allowance and stitch length throughout your project. This ensures a clean and professional look.
Take your time with each step. Rushing can lead to mistakes that are difficult to fix later. Patience is one of the most valuable skills in any sewing project.
Experiment with different color combinations and fabric textures. This not only enhances your creativity but also helps you discover your personal style.
Learn to use your tools effectively. Proper use of a rotary cutter, ruler, and sewing machine can significantly improve accuracy and efficiency.
Finally, practice regularly. The more you work on patchwork bag tutorial – quilt pattern projects, the more confident and skilled you will become.
FAQ – Patchwork Bag Tutorial – Quilt Pattern
1. Is a patchwork bag suitable for beginners?
Yes, a patchwork bag tutorial – quilt pattern is perfect for beginners, especially when starting with simple designs like squares or strips.
2. What type of fabric is best for patchwork bags?
Cotton fabric is the best choice because it is easy to handle, durable, and widely available in various prints and colors.
3. Do I need a sewing machine for this project?
While a sewing machine is recommended for speed and consistency, it is possible to complete a patchwork bag tutorial – quilt pattern by hand.
4. How long does it take to make a patchwork bag?
The time varies depending on the complexity of the design, but beginners can typically complete a basic bag in a few hours.
5. Can I use fabric scraps for patchwork?
Absolutely. Using scraps is one of the main advantages of patchwork, making it a sustainable and cost-effective craft.
6. What is batting, and is it necessary?
Batting is a layer placed between fabric layers to add thickness and structure. It is highly recommended for better results.
7. How do I choose colors for my patchwork design?
Start with a color palette of 3–5 colors that complement each other. Balance bold patterns with neutral tones.
8. Can I wash a patchwork bag?
Yes, but it’s best to use gentle washing methods to preserve the fabric and stitching.
Conclusion
In this article, you learned how to approach a patchwork bag tutorial – quilt pattern from start to finish. From understanding the basics and selecting materials to following a step-by-step process and improving your skills, each section was designed to guide you toward creating a beautiful handmade bag. Patchwork is not only a practical craft but also a creative outlet that allows you to transform simple fabrics into something meaningful and unique.
Now it’s your turn to put these techniques into practice and create your own design. Feel free to experiment, make mistakes, and most importantly, enjoy the process. If you found this guide helpful, share your honest opinion and leave your suggestions—your feedback is always welcome and helps improve future content.