
The Hair Elastic Tutorial – Pattern is a simple yet creative way to transform basic materials into stylish and practical accessories. Learning a hair elastic pattern can be both enjoyable and rewarding, especially for people who love handmade crafts and personalized fashion items. This type of project allows beginners and experienced crafters alike to explore creativity while making something useful for everyday life.
A well-designed Hair Elastic Tutorial – Pattern not only teaches how to make a functional accessory but also opens the door to experimenting with textures, fabrics, and colors. Many people are discovering that crafting their own hair elastics is a cost-effective and satisfying alternative to buying them. Handmade hair accessories are increasingly popular because they allow for unique styles that reflect individual personality.
Another reason why the Hair Elastic Tutorial – Pattern has become popular is its accessibility. Most patterns require only basic sewing or crafting tools, making it an ideal project for beginners. With a clear pattern and step-by-step approach, anyone can create beautiful hair elastics at home. This guide will explore the process, materials, techniques, and creative ideas involved in making your own hair elastics while following a practical and easy-to-understand tutorial.
Understanding the Basics of a Hair Elastic Pattern
A Hair Elastic Tutorial – Pattern begins with understanding the basic structure of a hair elastic. At its core, the design consists of an elastic band covered with fabric or decorative materials. The pattern provides measurements, cutting guides, and assembly instructions to ensure the final accessory is comfortable and durable.
The purpose of a hair elastic pattern is to simplify the crafting process. Instead of guessing measurements or experimenting with random shapes, the pattern offers a tested method that ensures consistent results. This makes the project especially helpful for beginners who are just starting to explore handmade accessories.
When working with a Hair Elastic Tutorial – Pattern, selecting the right elastic is very important. The elastic should be strong enough to hold hair securely but flexible enough to avoid causing discomfort. Soft elastic bands are typically preferred because they prevent hair breakage and maintain durability over time.
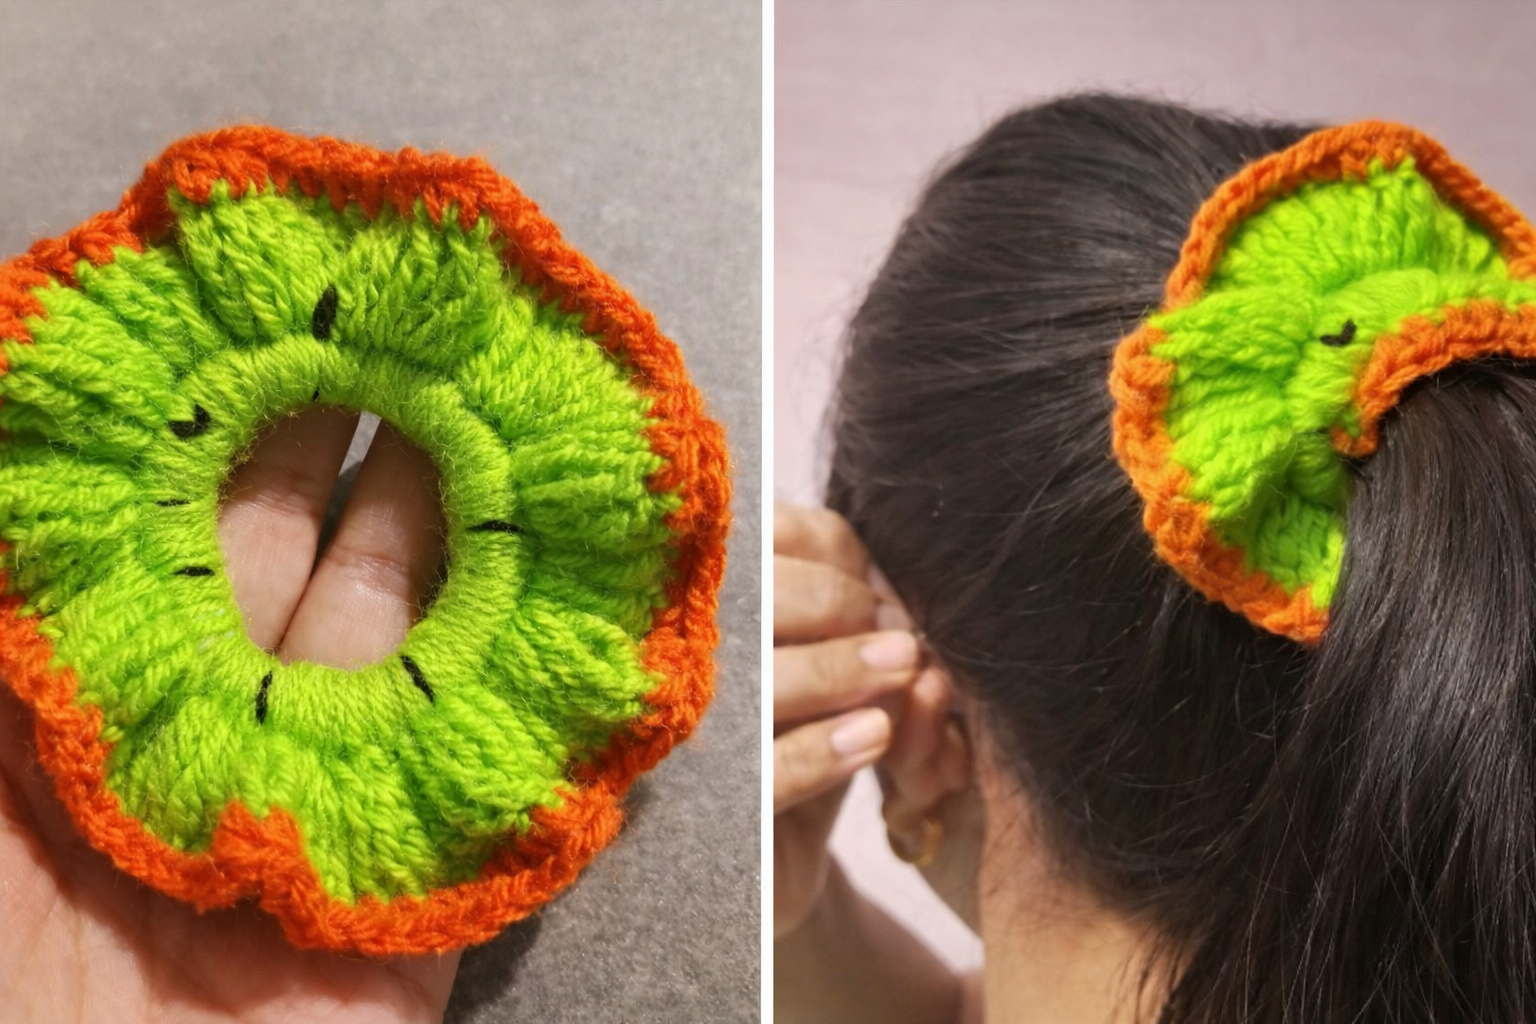
Fabric choice also plays a major role in the outcome of the hair elastic pattern. Cotton, satin, velvet, and lightweight linen are common options because they provide softness and flexibility. Choosing the right material can influence both the appearance and comfort of the final product.
Another key aspect of a Hair Elastic Tutorial – Pattern is the seam allowance. Patterns usually include extra fabric along the edges to allow for sewing and finishing. Understanding this small detail ensures the final hair elastic fits correctly and maintains a polished look.
Finally, beginners should remember that practice improves results. The first attempt may not look perfect, but following the hair elastic pattern carefully will help build confidence and improve crafting skills over time.
Materials and Tools Needed for a Hair Elastic Tutorial
Before starting a Hair Elastic Tutorial – Pattern, it is essential to gather the necessary materials and tools. Preparing everything in advance helps the process flow smoothly and prevents interruptions while crafting. Fortunately, most supplies are affordable and easy to find.
The primary material required for a hair elastic pattern is elastic cord or flat elastic. The size and thickness can vary depending on the style you want to create. Thicker elastics provide stronger hold, while thinner ones are better suited for delicate designs.
Fabric is another key component of the Hair Elastic Tutorial – Pattern. Small fabric scraps often work perfectly for this type of project. Many crafters enjoy using leftover pieces from larger sewing projects, turning them into beautiful and practical accessories.
Basic sewing tools are also necessary when following a hair elastic pattern. These usually include scissors, pins, a measuring tape, and either a sewing machine or needle and thread. These tools help achieve accurate cuts and secure stitches.
Some people like to enhance their hair elastic tutorial projects with decorative elements. Ribbons, lace, beads, or embroidery details can transform a simple hair elastic into a unique fashion accessory. While these extras are optional, they add personality and creativity to the finished piece.
Having a clean workspace is another important factor in successfully completing a Hair Elastic Tutorial – Pattern. A well-organized crafting area helps maintain accuracy and makes the process more enjoyable.
Step-by-Step Guide to Creating a Hair Elastic Pattern
Following a Hair Elastic Tutorial – Pattern becomes much easier when broken down into clear steps. The first step is measuring and cutting the fabric according to the pattern instructions. Accurate measurements ensure the hair elastic will wrap neatly around the elastic band.
Once the fabric piece is cut, the next step in the hair elastic pattern is folding the fabric lengthwise with the right sides facing inward. This prepares the fabric for sewing and ensures that the seam will remain hidden inside the finished accessory.
Sewing the long edge of the fabric is usually the next stage in the Hair Elastic Tutorial – Pattern. This creates a tube-like structure that will eventually hold the elastic. A straight stitch is typically sufficient for this step.
After sewing, the fabric tube must be turned right side out. This is an important part of the hair elastic pattern because it reveals the clean outer surface of the accessory. Using a safety pin or small tool can help make this step easier.
The next stage involves inserting the elastic band into the fabric tube. According to most Hair Elastic Tutorial – Pattern instructions, the elastic ends should be overlapped and securely stitched together to form a loop.
Finally, the fabric ends are sewn together to close the accessory. Once completed, the hair elastic pattern results in a neat and functional hair accessory that can be used immediately.
Creative Variations and Personalizing Your Hair Elastic
One of the most exciting aspects of a Hair Elastic Tutorial – Pattern is the opportunity for customization. While the basic pattern remains the same, small changes can create entirely new designs and styles.
Different fabrics can dramatically change the look of the hair elastic pattern. For example, satin creates a smooth and elegant finish, while cotton provides a casual and comfortable feel. Velvet can add a luxurious touch to the accessory.
Color combinations are another creative option within a Hair Elastic Tutorial – Pattern. Mixing contrasting fabrics or coordinating colors with outfits allows crafters to create accessories for different occasions.
Some people enjoy adding decorative elements to their hair elastic tutorial projects. Lace trims, bows, or embroidered details can enhance the aesthetic appeal of the final accessory.
Another popular variation of the hair elastic pattern involves adjusting the fabric width to create fuller designs. Wider fabric pieces result in scrunchie-style elastics that appear more voluminous and stylish.
Personalization also makes these accessories excellent gifts. Handmade items created through a Hair Elastic Tutorial – Pattern often feel more meaningful because they reflect the time and creativity invested in making them.
FAQ About Hair Elastic Tutorial – Pattern
1. What is a Hair Elastic Tutorial – Pattern?
A Hair Elastic Tutorial – Pattern is a step-by-step guide that explains how to create handmade hair elastics using fabric and elastic bands. It includes measurements, sewing instructions, and design tips.
2. Is a hair elastic pattern suitable for beginners?
Yes, a hair elastic pattern is considered one of the easiest sewing projects. It requires minimal tools and basic sewing skills, making it ideal for beginners.
3. What type of fabric works best for hair elastics?
Soft fabrics like cotton, satin, velvet, and linen are commonly used in a Hair Elastic Tutorial – Pattern because they are comfortable and easy to sew.
4. Can I make hair elastics without a sewing machine?
Yes, a hair elastic pattern can be completed using hand sewing techniques. While a sewing machine may speed up the process, it is not required.
5. How long does it take to complete a hair elastic tutorial?
Most Hair Elastic Tutorial – Pattern projects can be completed in 15 to 30 minutes, depending on experience and the complexity of the design.
6. Are handmade hair elastics durable?
Yes, when following a reliable hair elastic pattern and using quality materials, handmade hair elastics can be just as durable as store-bought versions.
7. Can I customize the size of the hair elastic?
Absolutely. A Hair Elastic Tutorial – Pattern can easily be adjusted by changing the length of the elastic or the width of the fabric piece.
Conclusion
The Hair Elastic Tutorial – Pattern demonstrates how a simple craft project can lead to beautiful and practical accessories. Throughout this article, we explored the basics of understanding a hair elastic pattern, the materials required, the step-by-step creation process, and the many ways to personalize the final result. This type of project is ideal for beginners while still offering creative freedom for experienced crafters.
By following a clear Hair Elastic Tutorial – Pattern, anyone can produce stylish handmade hair accessories that reflect their own creativity. The process requires only simple materials and a little patience, yet the final product can be both fashionable and functional. If you enjoyed learning about this hair elastic tutorial and its creative possibilities, feel free to share your honest opinion about the project. Your feedback and suggestions are always welcome and can help inspire new crafting ideas and improvements for future tutorials.