
Crochet lovers often search for small projects that can be completed in a short time while still delivering a visually impressive result. This pattern meets that need beautifully. The Crocheted Tulip Keychain with Leaves – Pattern is ideal for beginners who want to practice shaping techniques, as well as experienced crocheters who enjoy making thoughtful handmade gifts. Its compact size makes it perfect for using leftover yarn, and its timeless tulip design ensures it never goes out of style.
In addition to being a charming accessory, this project is also a wonderful way to refine essential crochet skills. From learning how to shape petals to creating realistic leaves, every step in the Crocheted Tulip Keychain with Leaves – Pattern contributes to building your confidence. By the end of this article, you will not only understand how to create this piece but also how to customize it for different colors, textures, and personal preferences.
Materials and Tools for the Crocheted Tulip Keychain with Leaves – Pattern
To begin your Crocheted Tulip Keychain with Leaves – Pattern, you will need a small selection of materials. The essential items include cotton or acrylic yarn in tulip colors such as pink, red, yellow, or purple, along with green yarn for the leaves. Choosing high-quality yarn ensures durability, especially since keychains are handled frequently.
A crochet hook appropriate for your yarn weight is also necessary. Most crafters prefer a smaller hook size than recommended on the yarn label to achieve tighter stitches. This helps the Crocheted Tulip Keychain with Leaves – Pattern maintain its shape and prevents stuffing from showing through.
You will also need fiberfill stuffing to give the tulip its rounded, three-dimensional appearance. A small amount goes a long way, and careful stuffing helps the flower look full without stretching the stitches too much.
Other essential tools include a yarn needle for weaving in ends and assembling parts, small scissors for trimming yarn, and a stitch marker to keep track of rounds if you are working in continuous spirals.
A keychain ring or lobster clasp is crucial for transforming your crochet flower into a functional accessory. These small hardware pieces are easy to attach and ensure your Crocheted Tulip Keychain with Leaves – Pattern can be securely fastened to keys or bags.
Finally, consider optional decorative elements such as embroidery thread for detailing or beads for subtle embellishments. While not necessary, these touches can elevate the final appearance of your project and make it uniquely yours.
Step-by-Step Instructions for the Crocheted Tulip Keychain with Leaves – Pattern
The base of the tulip usually begins with a magic ring technique. This method allows you to create a tightly closed center, which is ideal for small amigurumi-style projects like the Crocheted Tulip Keychain with Leaves – Pattern. Start by crocheting single crochet stitches into the ring and gradually increasing to form a small rounded bulb.
Once the base is established, you will continue working in rounds without joining, shaping the body of the tulip. Consistent tension is key to ensuring the stitches look neat and uniform. This stage defines the overall structure of your flower.
After achieving the desired height, it is time to form the tulip petals. Typically, this involves creating small chain spaces and working slip stitches or half double crochet stitches to form petal-like curves. These shaping techniques give the Crocheted Tulip Keychain with Leaves – Pattern its recognizable floral silhouette.
Before closing the top completely, gently insert fiberfill stuffing. Avoid overstuffing, as this can distort the petal shapes. The goal is to maintain a soft yet structured look that resembles a blooming tulip.
The leaves are usually crocheted separately using green yarn. They can be made by chaining a foundation row and working single crochet and half double crochet stitches along both sides. This creates a slightly pointed leaf shape that complements the tulip beautifully.
Finally, assemble all pieces by sewing the leaves to the base of the flower. Attach the keychain ring securely at the top using reinforced stitches. Make sure the attachment is tight enough to withstand daily use, ensuring your Crocheted Tulip Keychain with Leaves – Pattern remains durable and long-lasting.
Customization Ideas for Your Crocheted Tulip Keychain with Leaves – Pattern
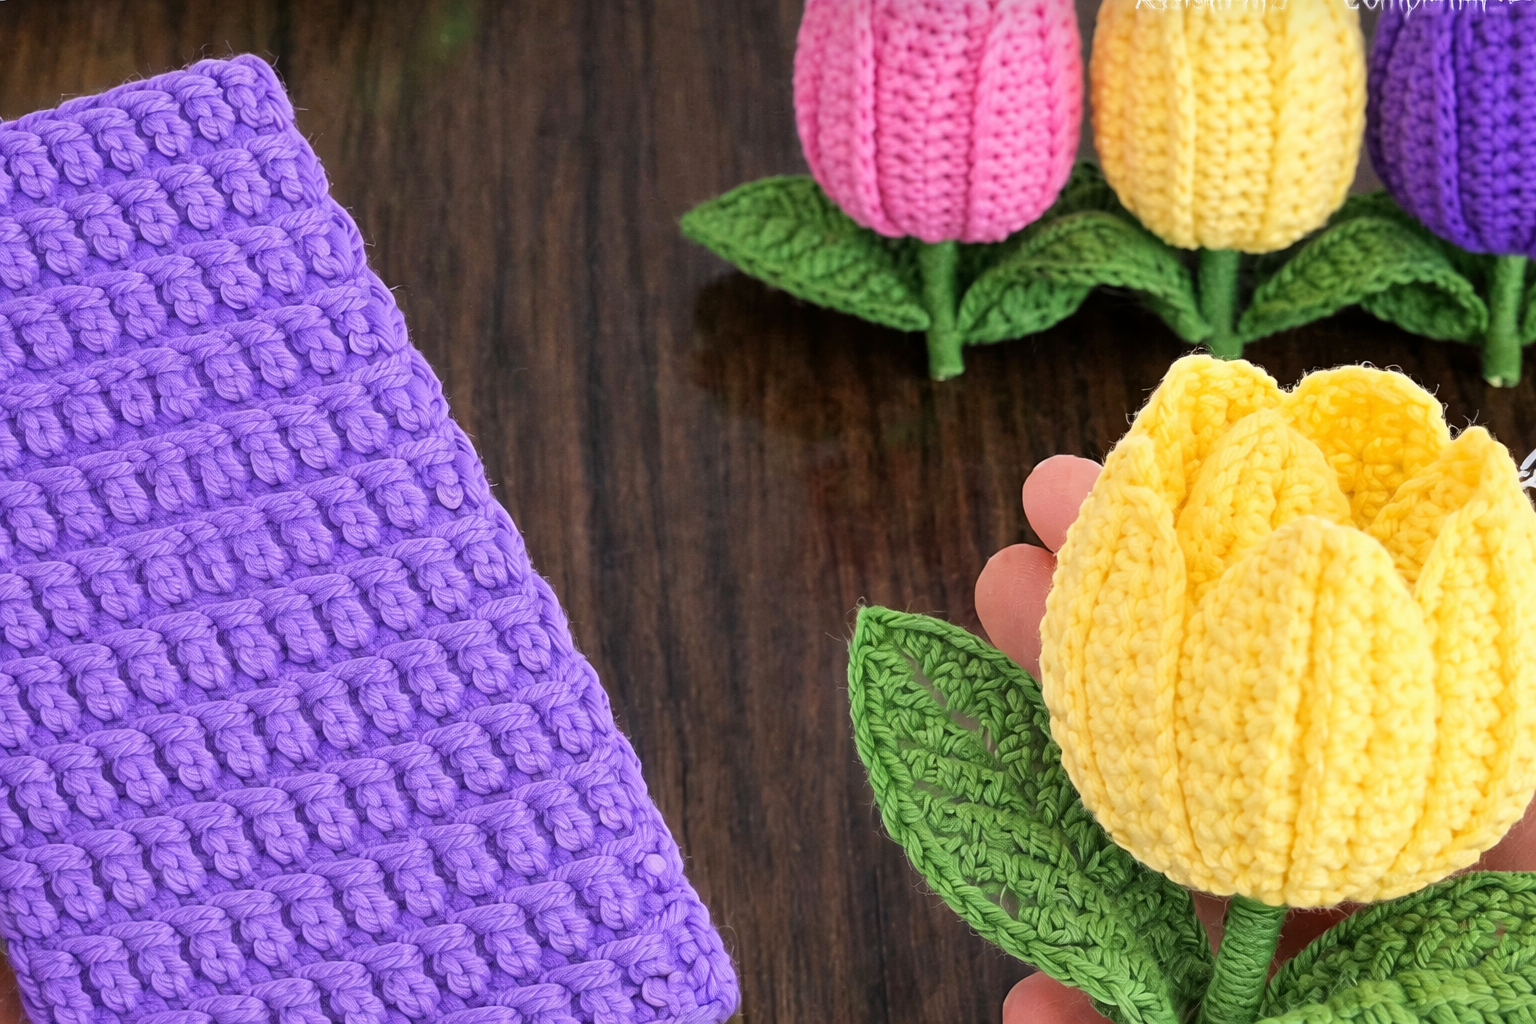
One of the most appealing aspects of the Crocheted Tulip Keychain with Leaves – Pattern is its versatility. You can experiment with color combinations to match seasons, holidays, or personal preferences. Pastel tones are perfect for spring, while bold red or deep purple shades create a more dramatic effect.
Texture also plays an important role in customization. Using mercerized cotton yarn can provide a subtle shine, giving your tulip a polished finish. Alternatively, matte acrylic yarn offers a softer, cozier look that works well for casual accessories.
You can adjust the size of the flower by modifying the number of rounds or using thicker yarn. This flexibility allows you to create mini keychains or slightly larger bag charms using the same fundamental Crocheted Tulip Keychain with Leaves – Pattern.
Adding embroidery details to the leaves, such as subtle vein lines, enhances realism. A simple backstitch using darker green thread can make the leaves appear more detailed without overwhelming the design.
If you enjoy creating handmade gifts, consider pairing multiple tulip keychains in different colors as a set. This makes a thoughtful present for birthdays, Mother’s Day, or special occasions, showcasing the charm of the Crocheted Tulip Keychain with Leaves – Pattern.
You can even incorporate fragrance by lightly scenting the stuffing with a drop of fabric-safe essential oil. This small addition transforms your crochet flower into a delightful sensory accessory that stands out from ordinary keychains.
Tips for Beginners Making the Crocheted Tulip Keychain with Leaves – Pattern
If you are new to crochet, start by practicing basic stitches such as single crochet, chain, and slip stitch. Mastering these fundamentals will make the Crocheted Tulip Keychain with Leaves – Pattern much easier to follow and execute.
Pay close attention to stitch counts in each round. Using a stitch marker can prevent confusion and help maintain symmetry in the tulip shape. Accurate counting ensures your flower remains balanced and proportional.
Maintain consistent tension throughout the project. Tight stitches help the tulip hold its shape, while overly loose stitches may create gaps. Practicing on scrap yarn before starting your final piece can improve your confidence.
When attaching the leaves, position them evenly to create a harmonious appearance. Taking a moment to pin them in place before sewing can help you visualize the final result and make adjustments if necessary.
Do not rush the finishing process. Carefully weave in yarn ends and secure knots firmly. Since keychains are handled frequently, durability is essential for the Crocheted Tulip Keychain with Leaves – Pattern to withstand daily wear.
Most importantly, enjoy the process. Crochet is both relaxing and rewarding. Even if your first tulip is not perfect, each attempt builds skill and creativity, making future projects even more satisfying.
FAQ About the Crocheted Tulip Keychain with Leaves – Pattern
What skill level is required for the Crocheted Tulip Keychain with Leaves – Pattern?
This pattern is suitable for beginners with basic crochet knowledge. Familiarity with single crochet, increasing stitches, and simple shaping techniques is recommended.
How long does it take to complete this project?
Most crafters can finish the Crocheted Tulip Keychain with Leaves – Pattern within one to two hours, depending on experience and attention to detail.
What type of yarn is best for durability?
Cotton yarn is often preferred because it is sturdy and holds its shape well. However, high-quality acrylic yarn can also be used successfully.
Can I wash the tulip keychain?
Yes, but hand washing in cold water is recommended to preserve the shape and color. Allow it to air dry completely before using again.
How do I prevent the stuffing from showing through?
Using a smaller hook size and maintaining tight stitches will minimize gaps. This technique ensures the Crocheted Tulip Keychain with Leaves – Pattern looks clean and professional.
Can I sell finished products made from this pattern?
In most cases, handmade items created from a pattern can be sold, but always ensure you respect pattern copyright guidelines if applicable.
Conclusion
The Crocheted Tulip Keychain with Leaves – Pattern is a delightful crochet project that combines creativity, functionality, and timeless floral beauty. In this article, we explored the necessary materials, step-by-step instructions, customization ideas, and helpful tips for beginners. We also addressed common questions to ensure you feel fully prepared to create your own tulip keychain with confidence.
By following this guide, you can transform simple yarn into a charming accessory that brightens everyday life. Whether you are crafting for personal enjoyment, gifting, or even small-scale selling, this pattern offers endless possibilities. If you found this article helpful, please leave your honest opinion and share your suggestions. Your feedback is valuable and helps inspire even more creative crochet ideas in the future.